Synchronize a workspace with a template
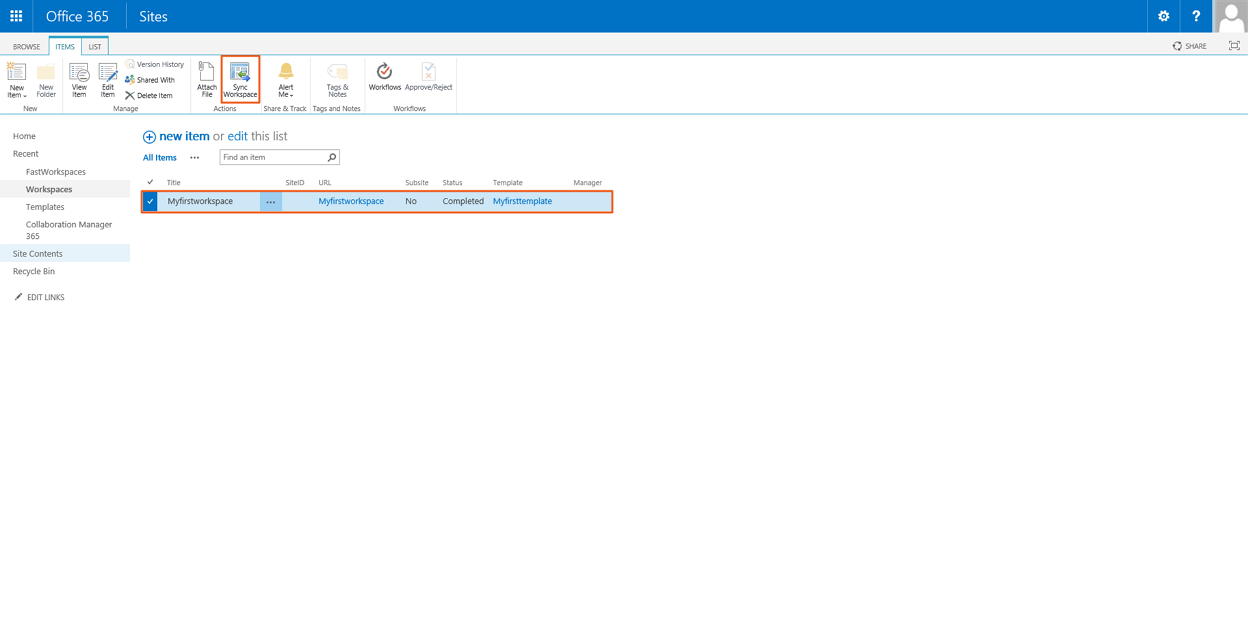
If the template file has been updated you can synchronize your existing workspace. Just go to the workspace list and select the workspace which you want to synchronize.
Then select the “ITEMS” tab in the ribbon bar and press the Button “Synchronize Workspace”. It is possible to synchronize more than one workspaces with only one action.
Don't be surprised that not every workspace will be synchronized immediately. The synchronization is asynchronous.
NOTE: If you synchronize more than 5 Workspaces at once SharePoint might run into a timeout!
Related Articles
Create a workspace
1. Press the “Workspace”-Button in the left navigation and select the “ITEMS” tab in the ribbon bar. Then press the New Item menu and press select the button “Item”. 2. Enter a title for your workspace and select the Template you want to use. Then ...Workspace Information Webpart
1. Go to your template sitecollection and press "PAGE" on the page you want to add the webpart. 2. Now click on the edit page link. 3. Select the webpart zone and click add a Web Part 4. Select the Workspace Information AppPart and press the Add ...Cannot create Workspaces (CM is installed on two Site Collections or more)
Problem: When you create a workspace you are getting an Error. In the log there is an entry like "... invalid field name ..." Reason: You have installed the Collaboration Manager on two Site Collections or more. The settings for the CM are global, so ...Collaboration Manager 365 with Nintex Workflows
Requirements Collaboration Manager 365 has to be licensed and added to your SharePoint A license for Nintex Workflows has to be purchased Nintex Workflow has to be added to your SharePoint Installation, licence and activation For the use of Nintex ...Create a workspace by workflow
If you want to add an approval workflow to the workspaces list, go to the list settings. Click on the status column. Set the default value to "Pending" and press the OK Button. Now you can add your approval workflow. After your workspace has been ...